Members
Add, manage, and remove members from your user groups.
Members
The Members page lets you view all members of a group, add new members by email, and remove existing members. Access it from the group detail page by clicking View All Members.
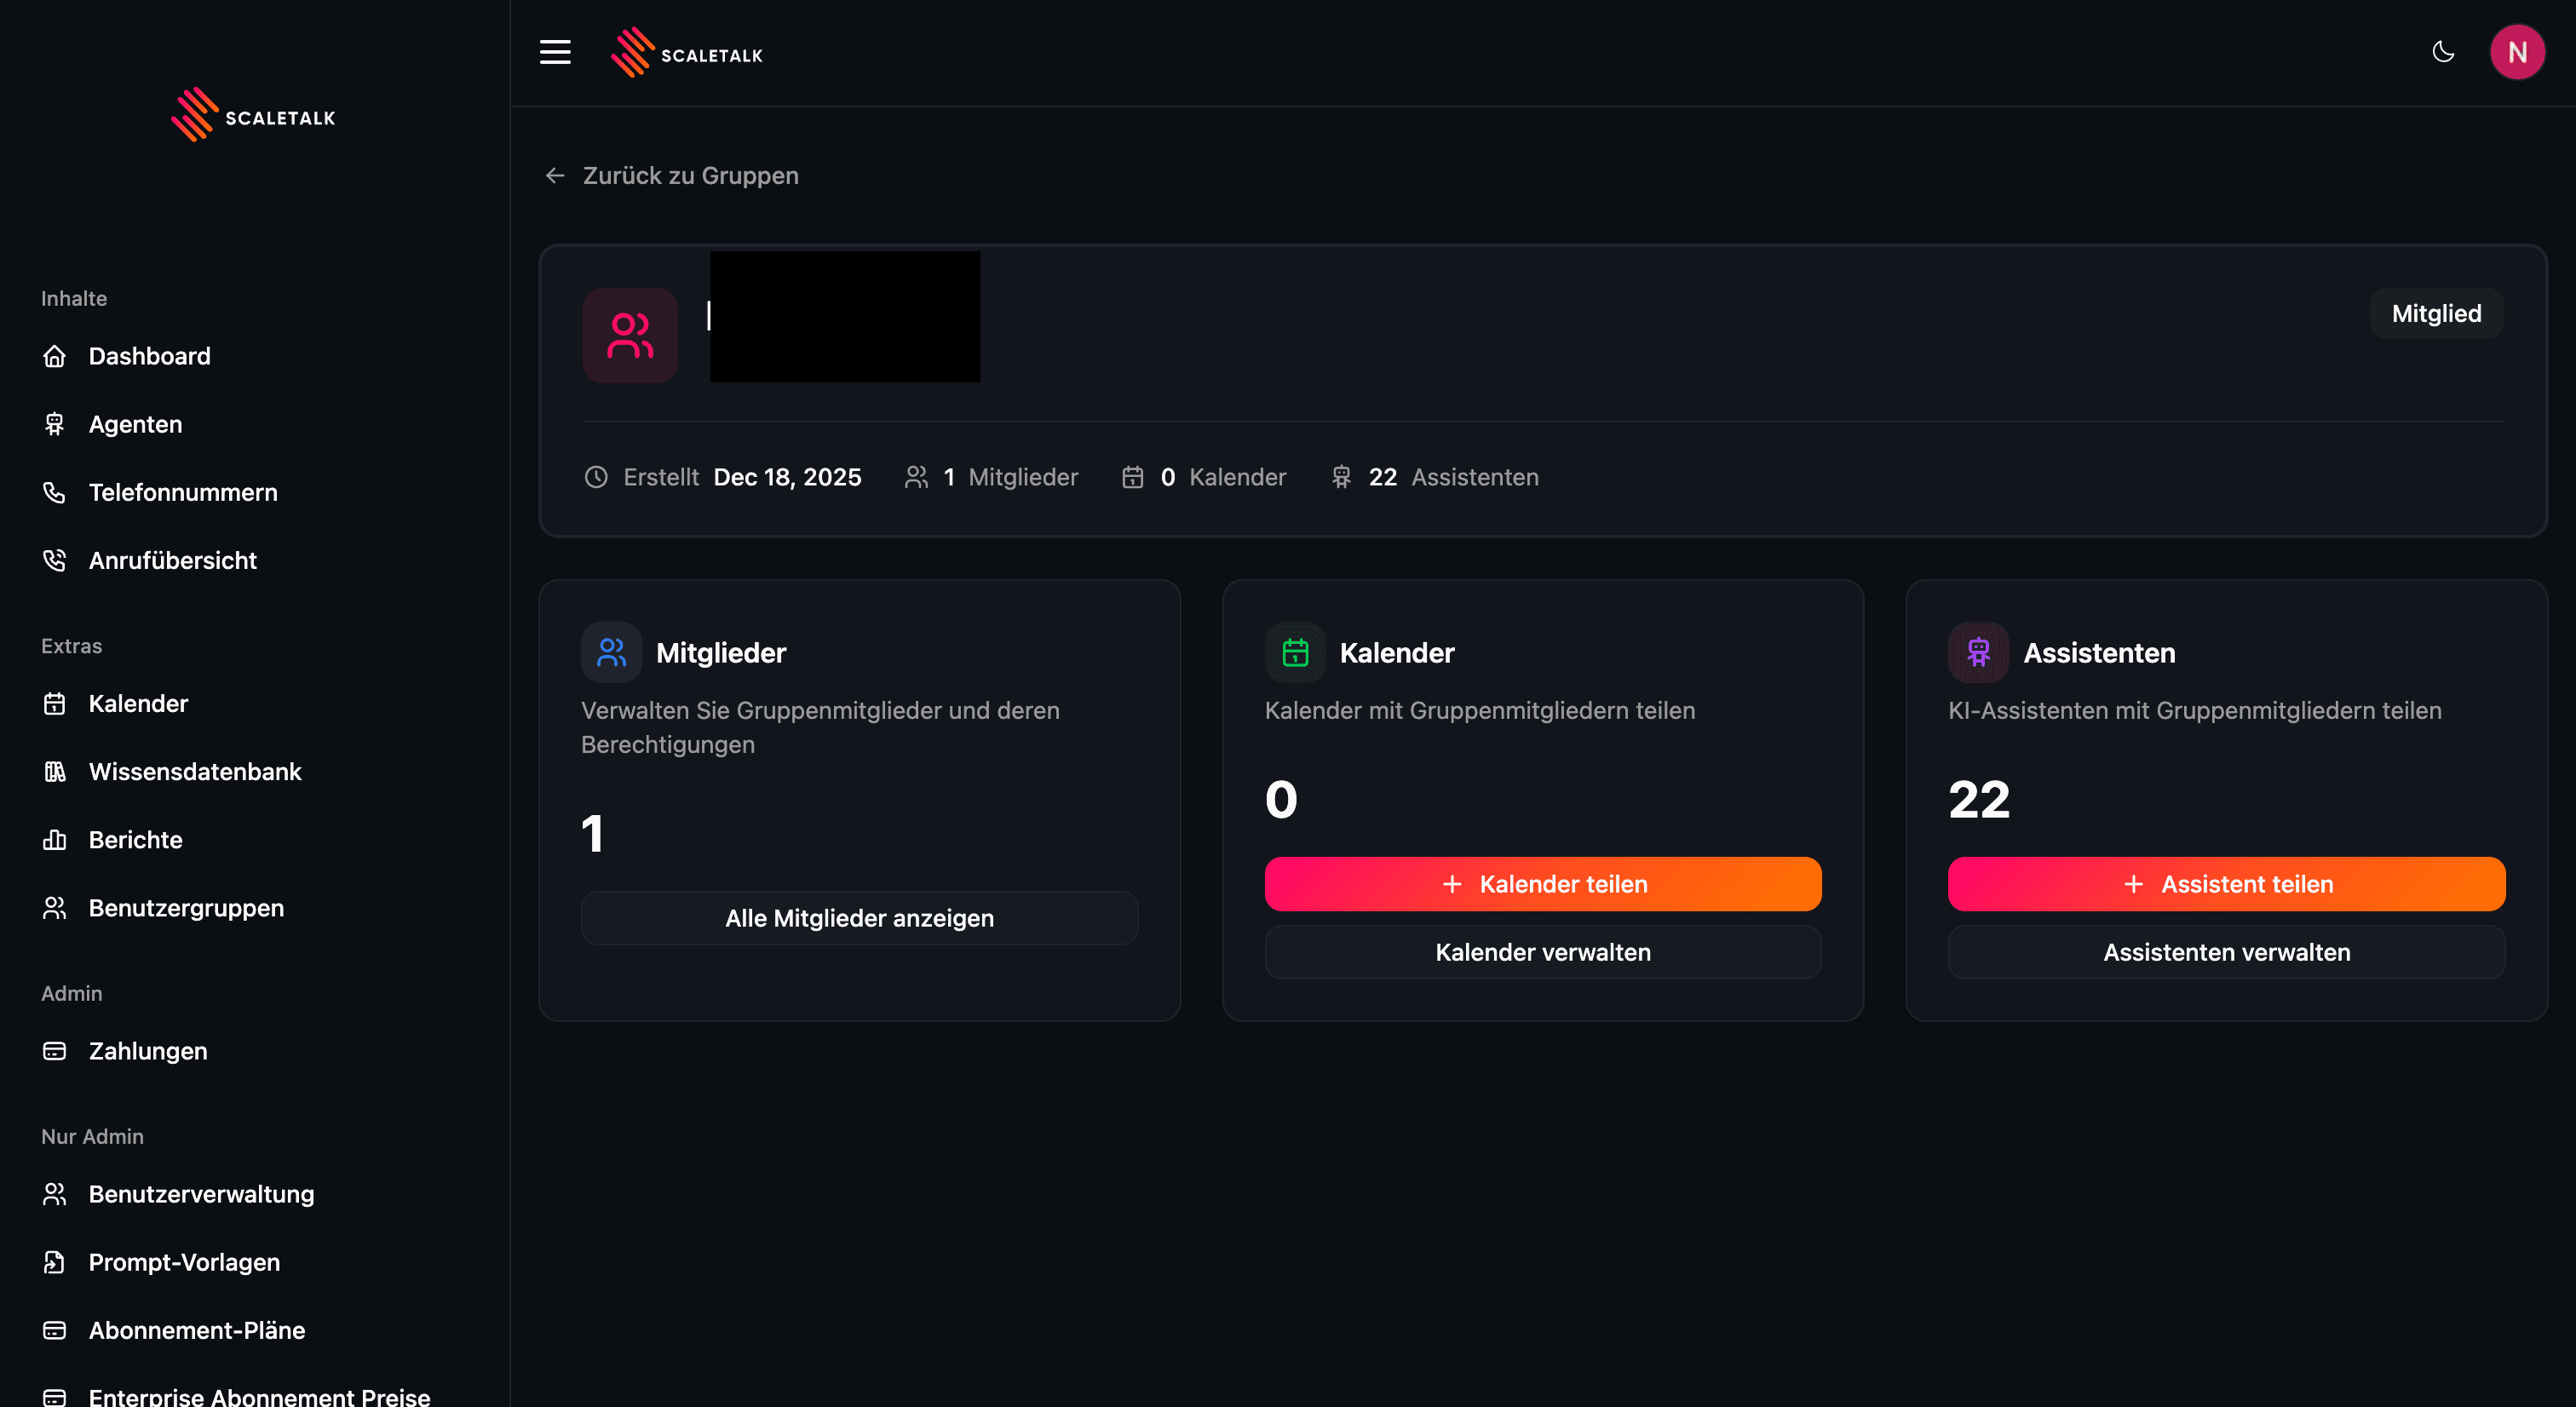
Members Table
The members table displays the following information:
| Column | Description |
|---|---|
| Member | User avatar, name, and email address |
| Role | The member's role in the group (Owner or Member) |
| Joined | The date the member was added to the group |
| Actions | A dropdown menu with available actions |
Role Badges
| Role | Badge | Description |
|---|---|---|
| Owner | Filled badge | The user who created the group. Has full management permissions |
| Member | Outline badge | A user who has been invited to the group. Can access shared resources |
Adding Members
Only the group owner can add new members. Click the Add Member button to open the dialog.
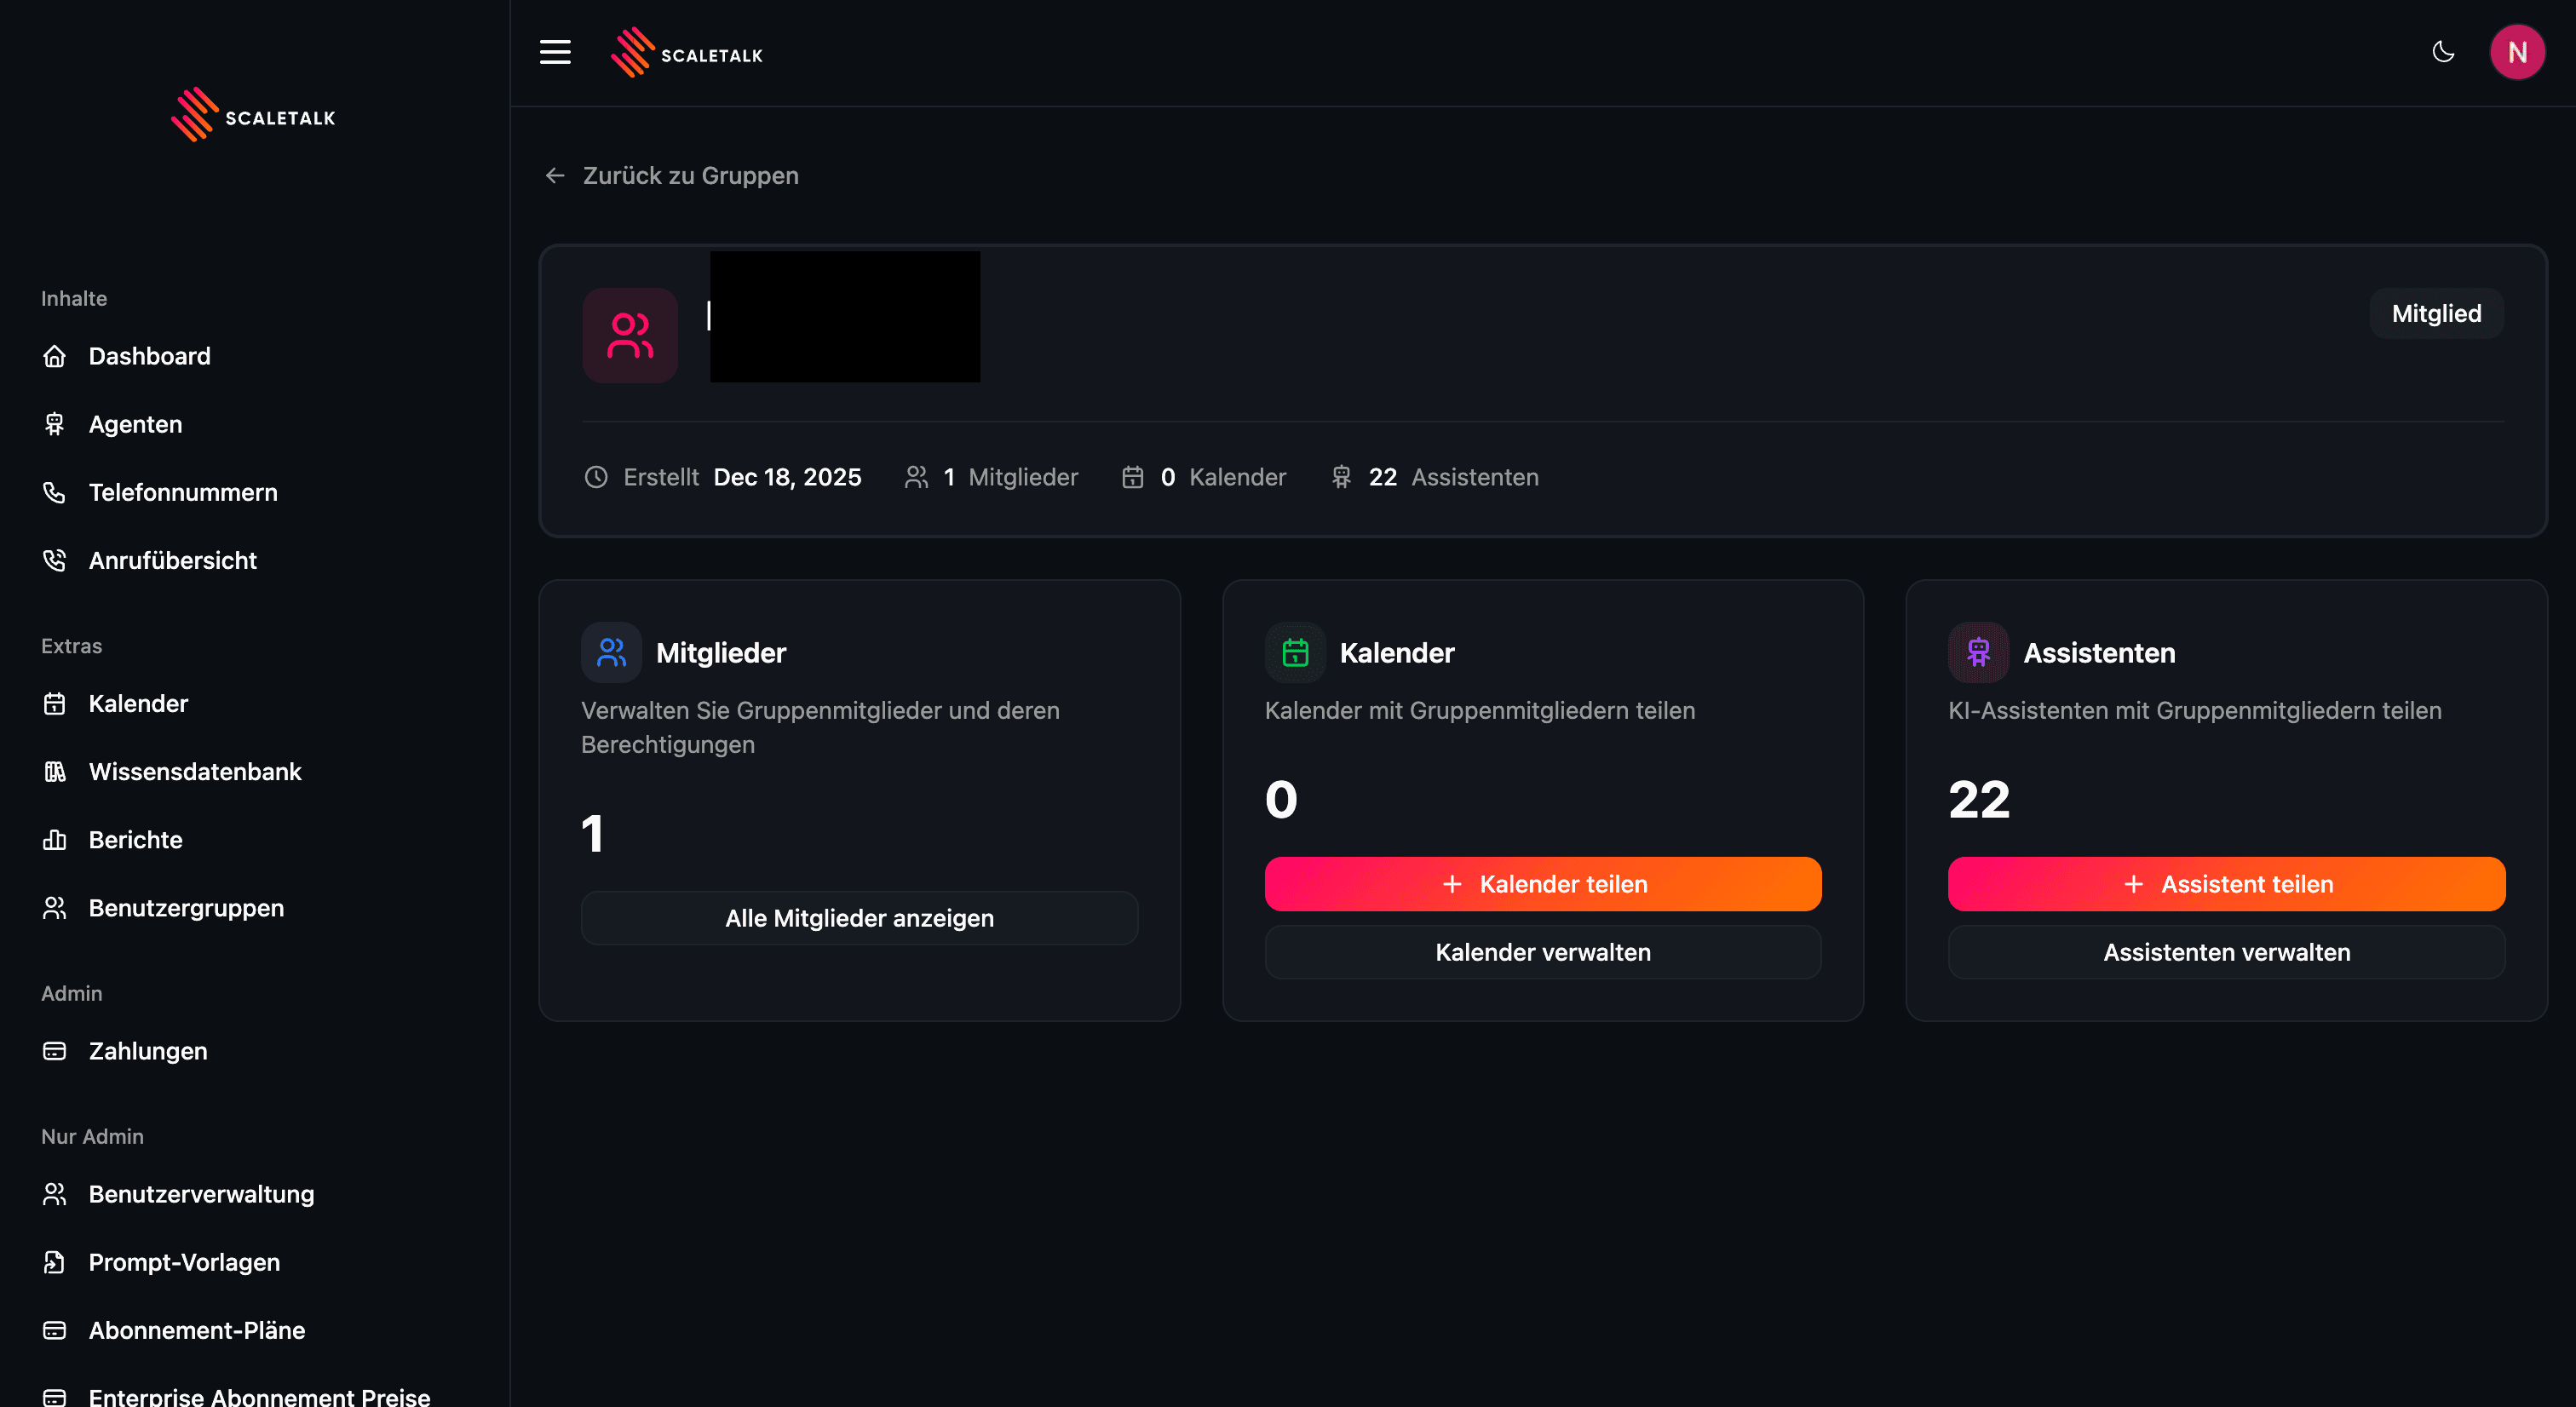
To add a member:
- Click Add Member from the group detail page or the members page.
- Enter the email address of the user you want to add. The user must already have a ScaleTalk account.
- Check the GDPR consent checkbox to confirm you have obtained the user's consent to share group data.
- Click Add Member to send the invitation.
| Field | Required | Description |
|---|---|---|
| Email Address | Yes | The email address of an existing ScaleTalk user |
| GDPR Consent | Yes | Confirmation that the user has consented to data sharing |
GDPR Requirement
You must obtain and confirm consent from the user before adding them to a group. The consent acknowledgment, timestamp, and version are recorded for compliance purposes.
What Members Can Access
Once added, a member can:
- View all calendars shared with the group (read-only or full access depending on the sharing settings)
- Interact with all AI agents shared with the group (based on the permissions set by the sharer)
- View the member list of the group
Members cannot:
- Add or remove other members (owner only)
- Share calendars or agents with the group (any member can share, but only their own resources)
- Delete the group (owner only)
Removing Members
Only the group owner can remove members. To remove a member:
- Open the actions menu (three-dot icon) on the member's row.
- Select Remove from Group.
- Confirm the removal in the dialog.
Removing a member has the following consequences:
- The member loses access to all shared calendars in the group
- The member loses access to all shared agents in the group
- The removal complies with GDPR right to be forgotten
- This action cannot be undone
Owner Protection
The group owner cannot be removed from the group. To transfer ownership, delete the group and create a new one with the desired owner.
Best Practices
Organizing Groups
- Create groups based on teams, departments, or projects
- Use clear, descriptive names (e.g., "Customer Support Team", "Sales Department")
- Add descriptions to help members understand the group's purpose
Managing Access
- Review group membership regularly to ensure only active team members have access
- Remove members promptly when they leave the team or project
- Use read-only calendar sharing unless members need to edit events
- Grant agent editing permissions only to team leads or administrators