Getting Started
Set up your ScaleTalk account and create your first AI voice agent in minutes.
This guide will walk you through setting up ScaleTalk and making your first AI-powered phone call.
Create Your Account
Step 1: Sign Up
Visit app.scaletalk.ai and click Sign Up. You can get started completely free and without a credit card — you'll instantly receive 15 free trial minutes.
You can create an account using:
- Email & Password - Enter your name, email address, and create a secure password
- Google - Quick sign-in with your Google account
- Microsoft - Quick sign-in with your Microsoft account
Step 2: Verify Your Email
After signing up with email, you'll receive a verification email. Click the link to verify your account.
Note
Email verification is only required when signing up with email & password. When using quick sign-in via Google or Microsoft, this step is skipped.
Step 3: Access Your Dashboard
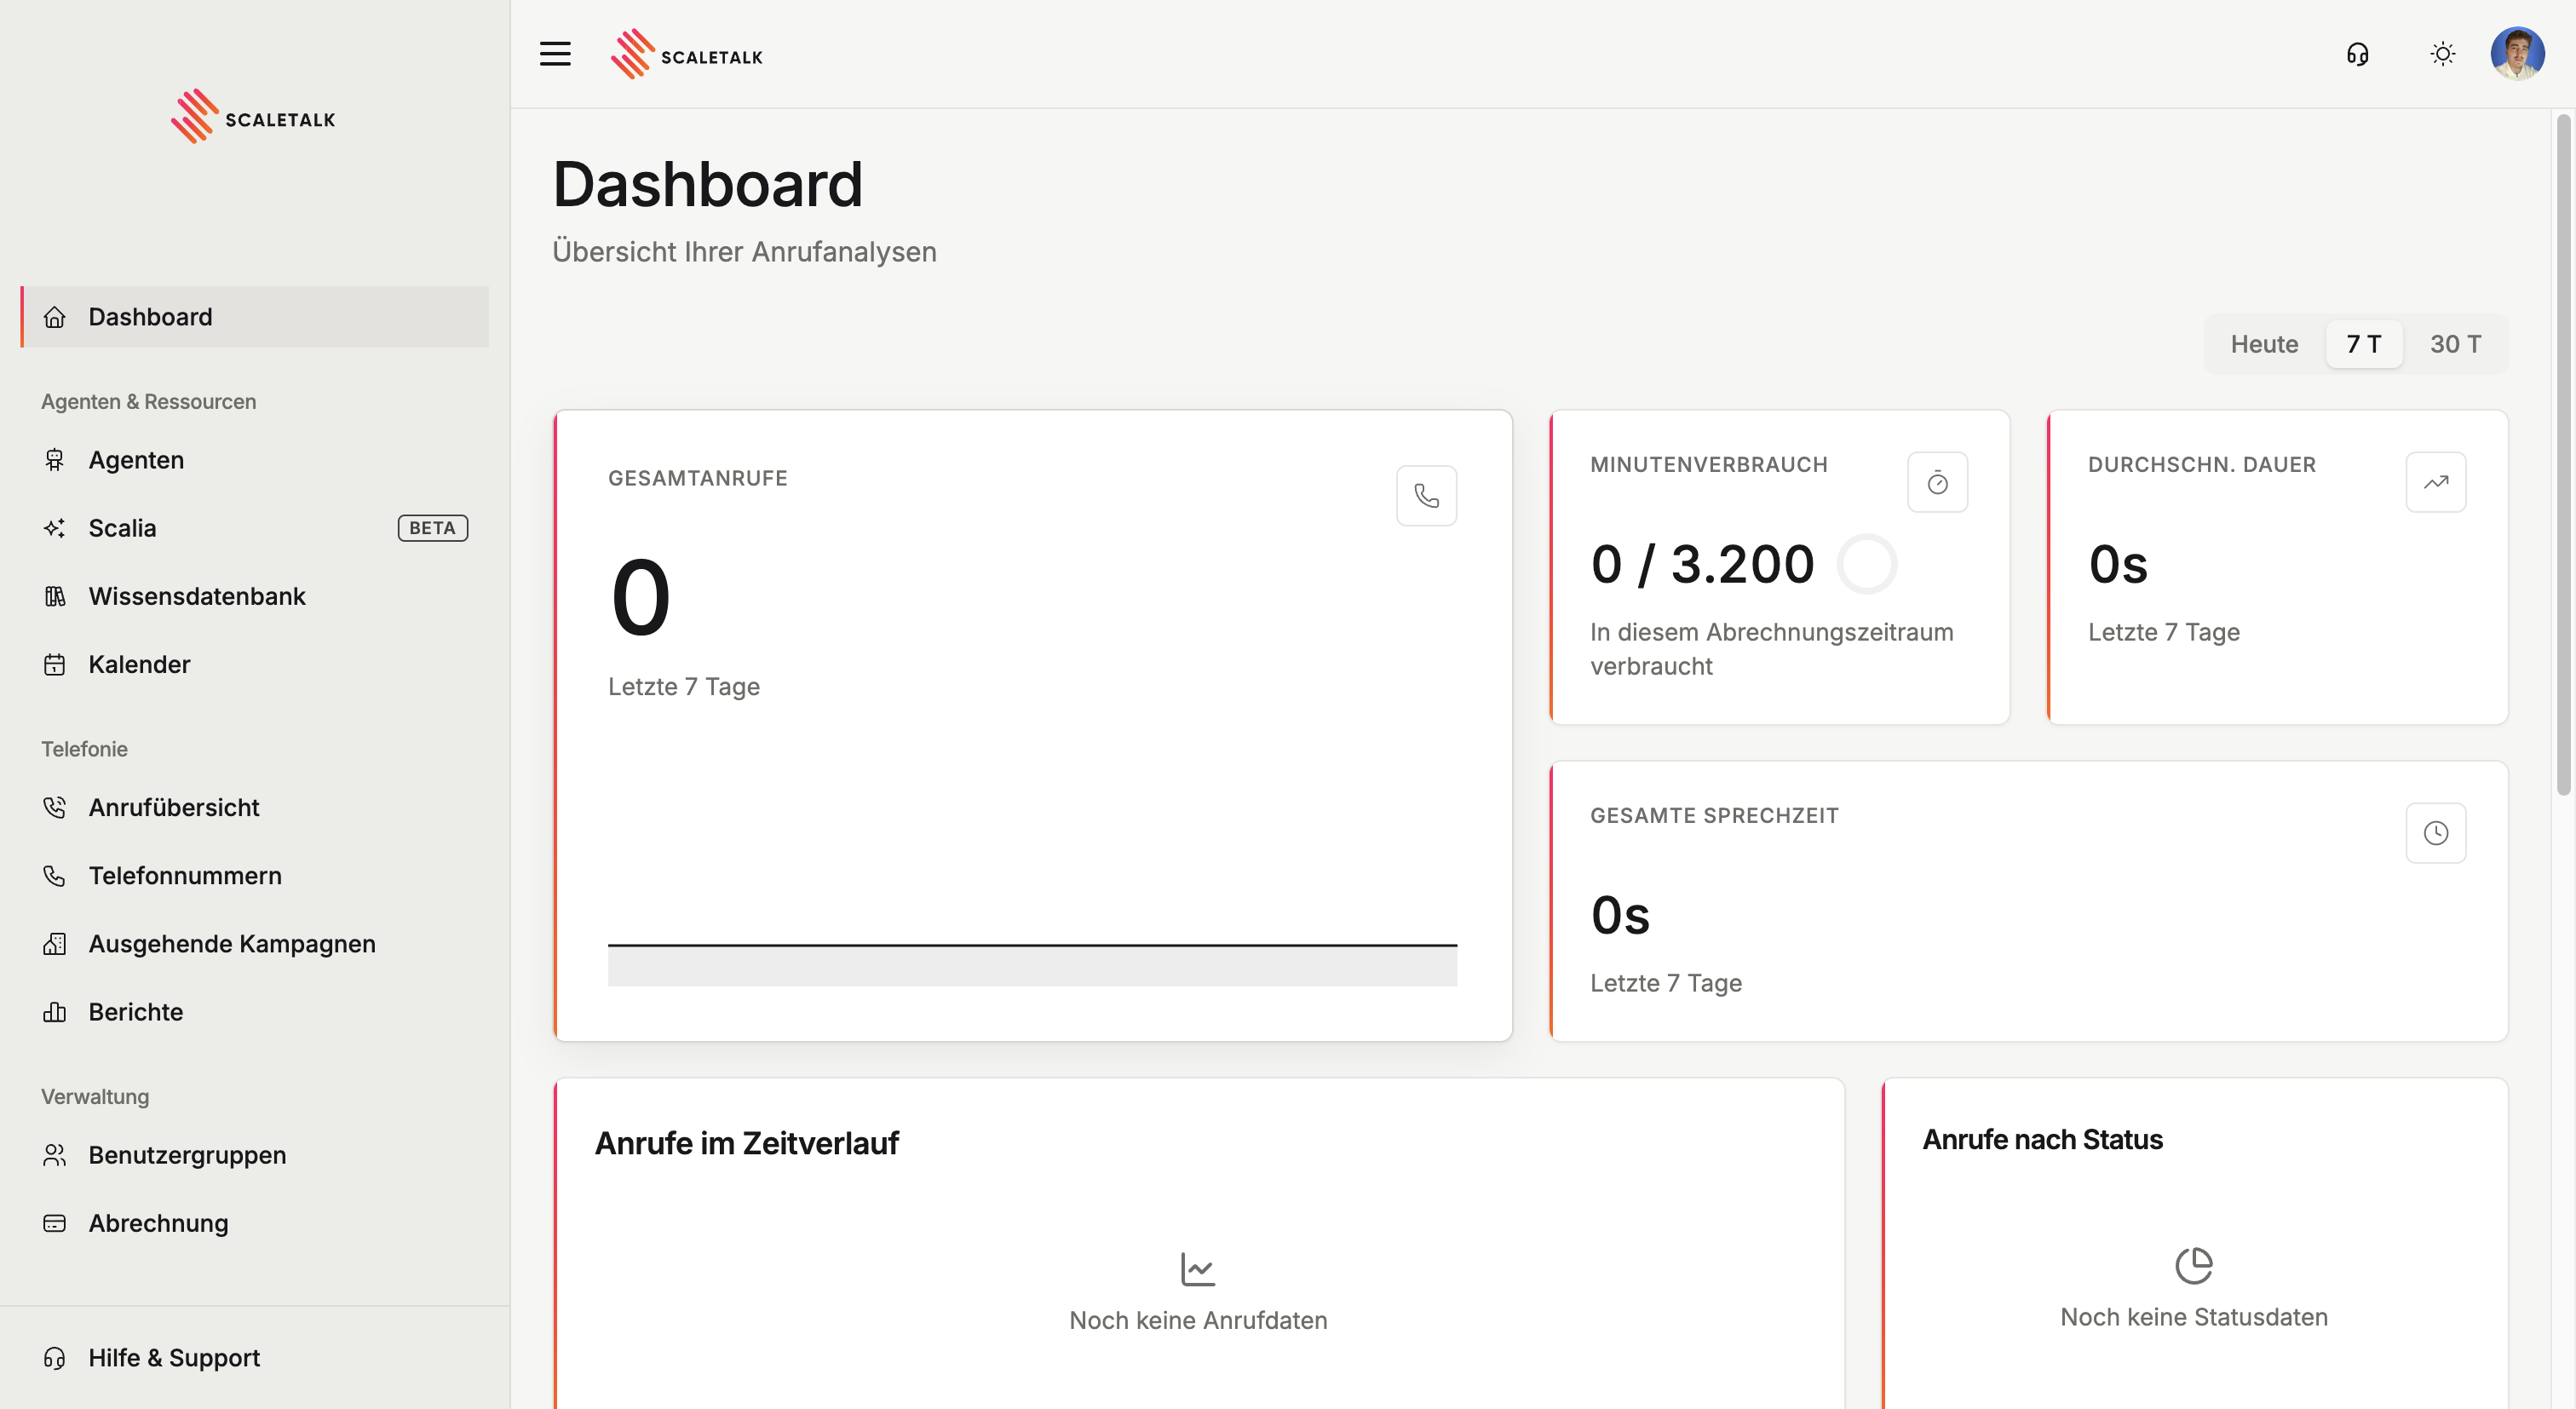
Once verified, you'll be redirected to your dashboard. Here you'll find an overview of all your call activity and can start building your voice agents right away. Your 15 free trial minutes are available immediately.
Quick Start: Create Your First Agent
Step 1: Create New Agent
Click Agents in the sidebar, then click Create Agent to open the template selector.
Step 2: Choose a Template
The template picker opens. At the top you give the agent a name — changeable at any time later.
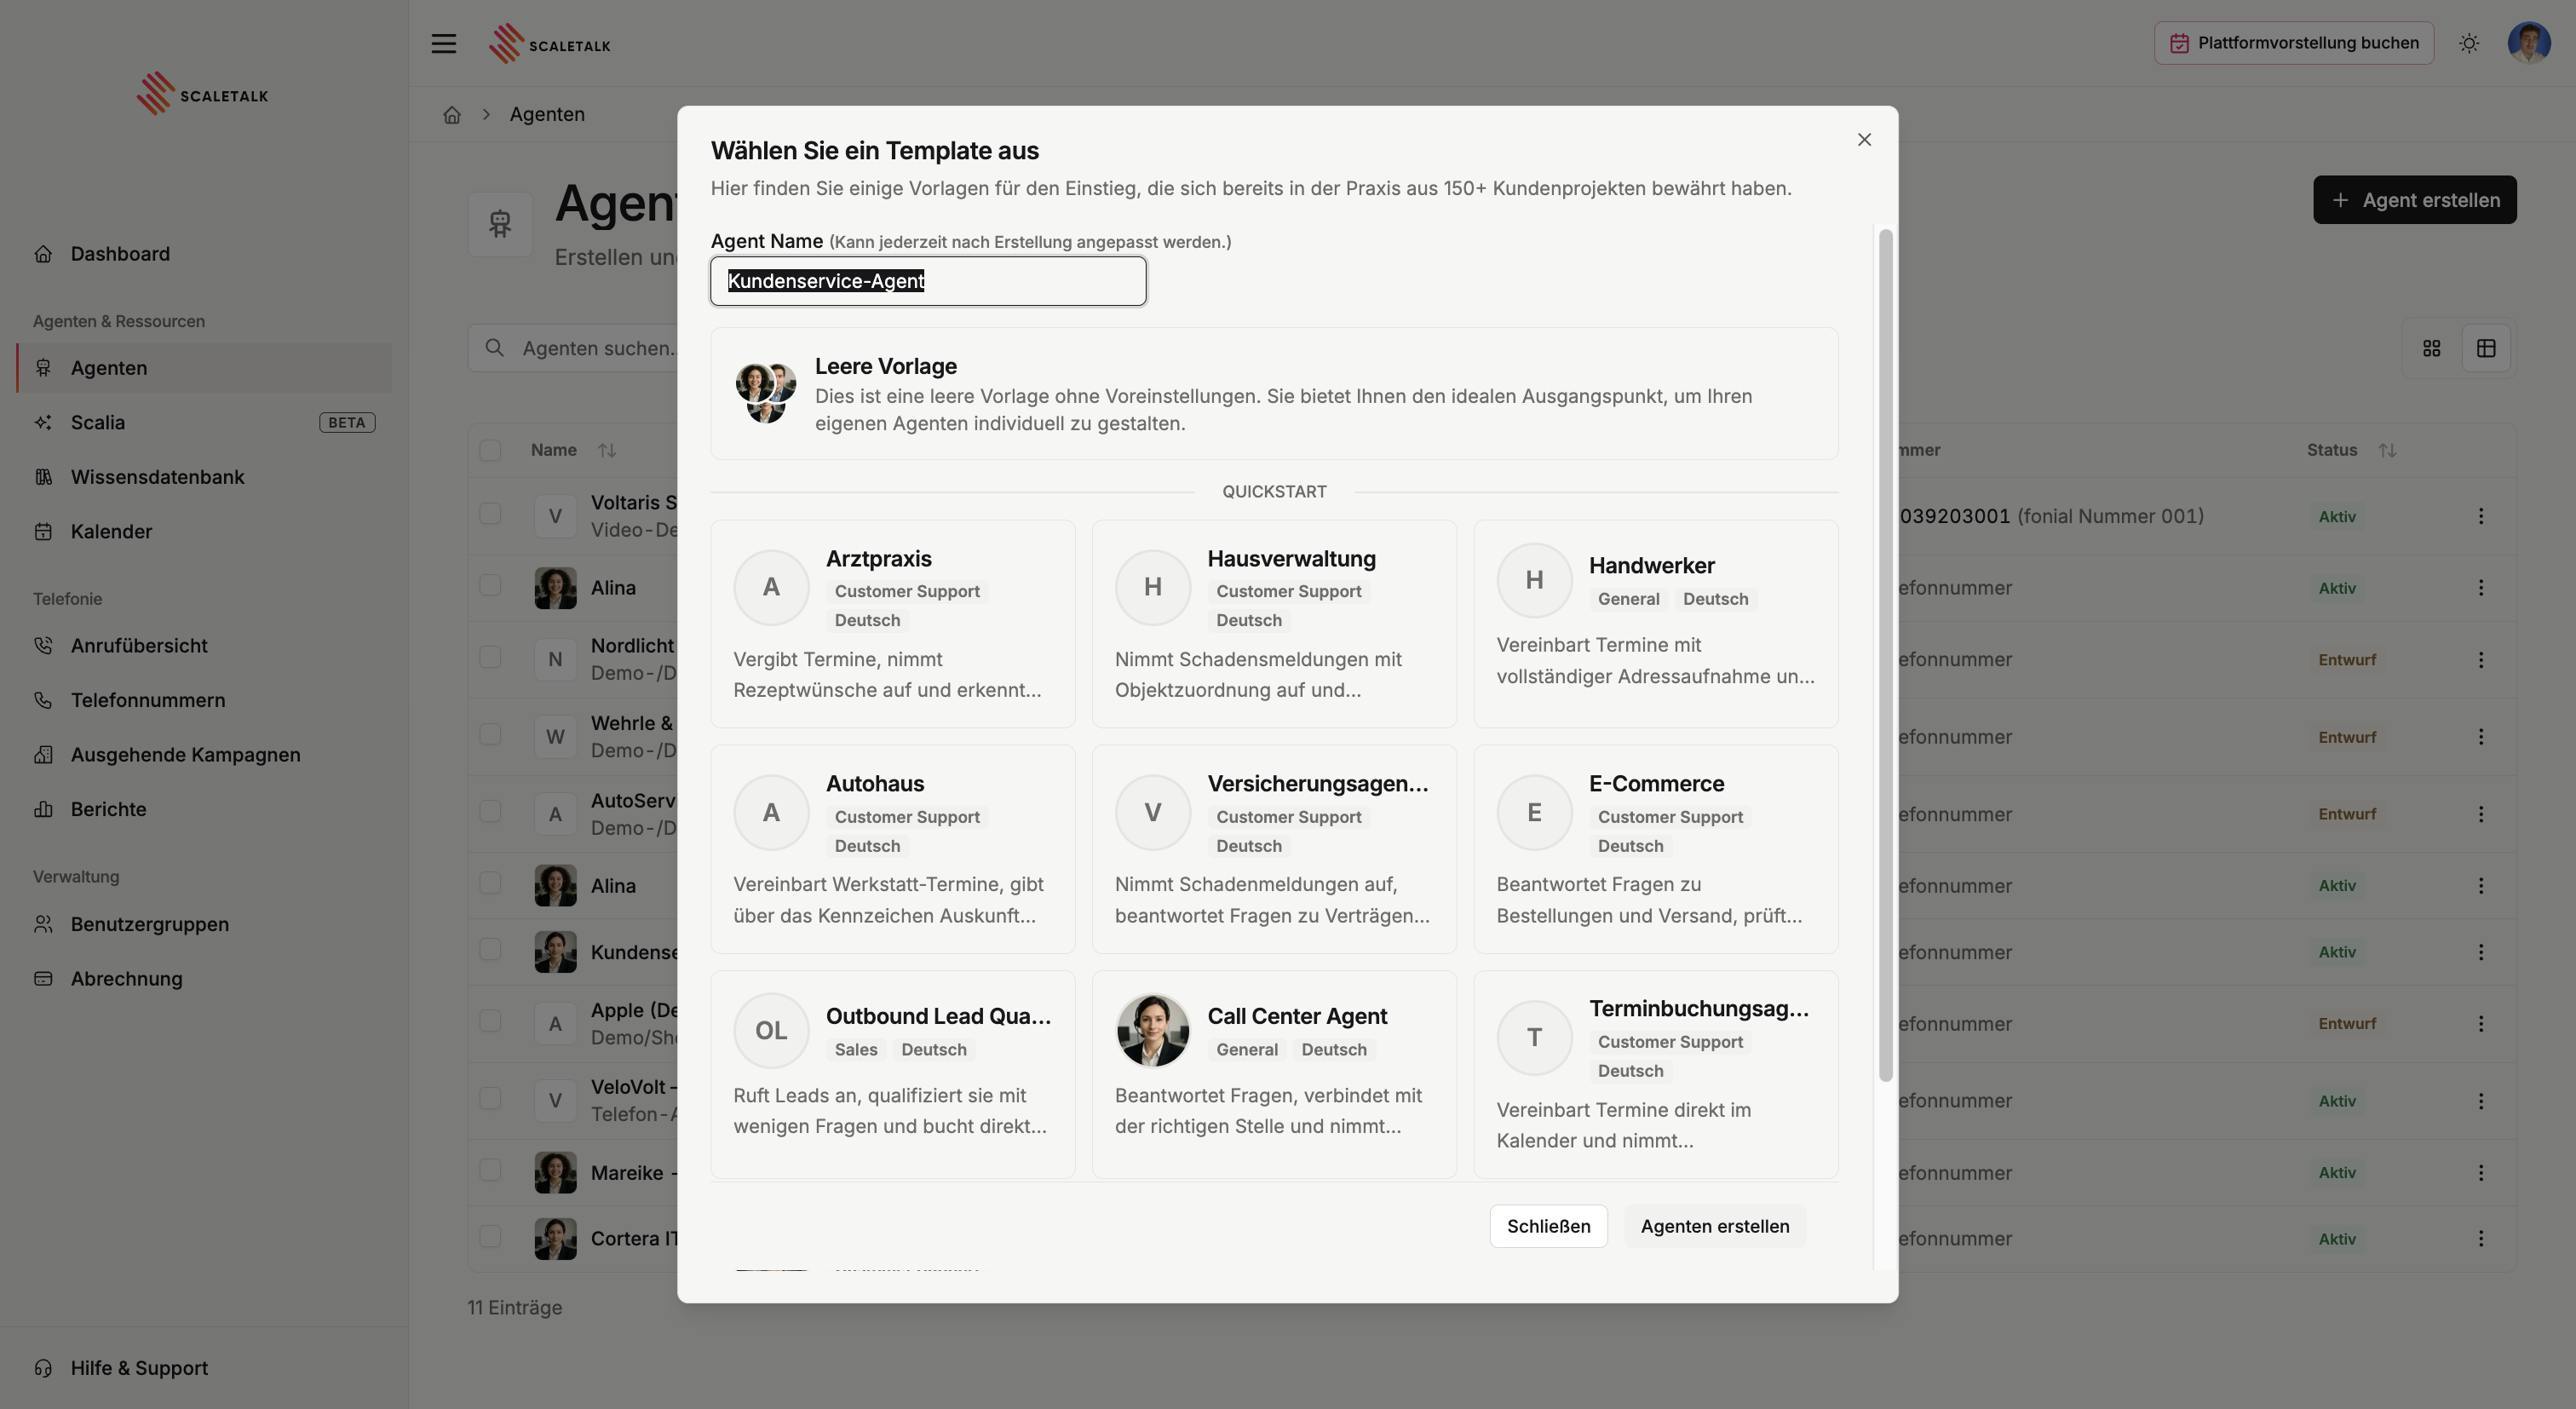
Blank template
No presets. The right starting point if you want to build the agent from scratch — or if you are bringing an existing prompt.
General templates
These three fit any industry, because they describe a job rather than a field:
| Template | What the agent does |
|---|---|
| Call center agent | Answers questions, routes to the right place, and takes the request |
| Appointment booking agent | Books appointments straight into the calendar and collects what is needed |
| FAQ agent | Answers from the knowledge base and takes the request where it falls short |
Alongside them sits Outbound Lead Qualification — the counterpart for outbound campaigns: the agent calls leads, qualifies them with a few questions and books an appointment directly.
Industry templates
Six templates that already carry the typical call flow of an industry, including the details that experience says have to be captured there:
| Industry | What the agent does |
|---|---|
| Medical practice | Books appointments, takes prescription requests and reads urgency |
| Property management | Takes damage reports with the property assigned |
| Trades | Books appointments with a complete address |
| Car dealership | Books workshop appointments and answers by registration plate |
| Insurance agency | Takes claims and answers questions about policies |
| E-commerce | Answers questions about orders and shipping |
A template is a starting point, not a finished state
Every template comes with a written prompt, matching variables and the sensible capabilities. You still have to adapt it — company name, opening hours and your own procedures at the very least. All of it stays editable afterwards.
Once picked, a dialog asks you for the template's placeholders: company name, industry, location, opening hours and whatever else belongs there. That alone tailors the prompt to your business.
Step 3: Configure Your Agent
You then land in the agent editor. It is split into three phases, switched at the top:
| Phase | For |
|---|---|
| Build | Setting everything up — identity, instructions, capabilities, tuning |
| Test | Calling the agent in the browser before it has a number |
| Connect | Assigning a phone number and going live |
Inside Build, the settings sit in four groups:
| Group | Contains |
|---|---|
| Identity | Agent set-up (name, voice, language), greeting, opening hours |
| Instructions | Prompt, caller context, variable extraction |
| Capabilities | Knowledge base, tools, follow-up |
| Tuning | Parameters, speech recognition, recording, background audio |
Work in that order
The groups are not sorted arbitrarily. The agent has to know who it is and what to say before a calendar or an API request means anything. Tuning comes last — it rounds off an agent that is already right, it does not repair a wrong one.
Next Steps
Now that you've created your first agent, explore these guides: